Join

Hello we need your support, over 2 months ago or patreon site was deleted and with it we have lost or money to pay the servers.
Since then, all members who joined via patreon had a free members account.

We have now a new payment site added and will deactivate the free members account.
Please support us by activating your members account via the new payment site over the join link on our site.

Your support will help us pay the servers and we need your support because right now we dont make enough money to pay the servers.

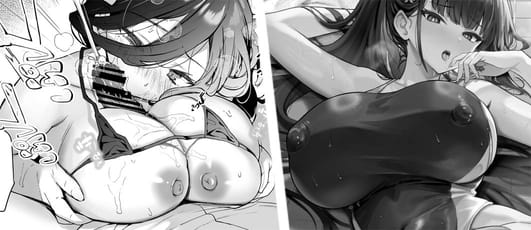
C99 Moshi Sagisawa Fumika no Roshutsuheki ga Baretara

もし鷺沢文香の露出癖がバレたら

0/10 (0)
Add Favorite
Report
  • Translated
  • No
  • Release
  • 31.12.2021
  • Type
  • Doujinshi
  • Pages
  • 42
  • Parody
  • The Idolmaster
  • Circle
  • Haniya
  • Romaji
  • Moshi Sagisawa Fumika no Roshutsuheki ga Baretara
  • Japanese
  • もし鷺沢文香の露出癖がバレたら
Translate your favorite doujin & manga in english with SaikouToolkit it has how to videos and more!
  • Page 1: 000.jpg | Moshi Sagisawa Fumika no Roshutsuheki ga Baretara | View Page!
  • Page 2: 001.jpg | Moshi Sagisawa Fumika no Roshutsuheki ga Baretara | View Page!
  • Page 3: 002.jpg | Moshi Sagisawa Fumika no Roshutsuheki ga Baretara | View Page!
  • Page 4: 003.jpg | Moshi Sagisawa Fumika no Roshutsuheki ga Baretara | View Page!
  • Page 5: 004.jpg | Moshi Sagisawa Fumika no Roshutsuheki ga Baretara | View Page!
  • Page 6: 005.jpg | Moshi Sagisawa Fumika no Roshutsuheki ga Baretara | View Page!
  • Page 7: 006.jpg | Moshi Sagisawa Fumika no Roshutsuheki ga Baretara | View Page!
  • Page 8: 007.jpg | Moshi Sagisawa Fumika no Roshutsuheki ga Baretara | View Page!
  • Page 9: 008.jpg | Moshi Sagisawa Fumika no Roshutsuheki ga Baretara | View Page!
  • Page 10: 009.jpg | Moshi Sagisawa Fumika no Roshutsuheki ga Baretara | View Page!
  • Page 11: 010.jpg | Moshi Sagisawa Fumika no Roshutsuheki ga Baretara | View Page!
  • Page 12: 011.jpg | Moshi Sagisawa Fumika no Roshutsuheki ga Baretara | View Page!
Limited to 12 Preview Images - Join Today to view the Full Gallery!
Share This